Harvesting Potatoes in North Carolina: How to Know When They’re Ready
June 29, 2023
Forestfood is a participant in the Amazon Services LLC Associates Program, an affiliate advertising program designed to provide a means for sites to earn advertising fees by advertising and linking to
Amazon.com
I. Introduction
Potatoes are an incredibly versatile and popular crop to grow in home gardens across North Carolina. Known for their rich taste and high nutritional value, potatoes can thrive in North Carolina’s varied climate, making them a fantastic choice for gardeners. However, one question that many new growers grapple with is knowing when their potatoes are ready to harvest. In this article, we’ll delve into understanding potato growth stages and the telltale signs that your potatoes are ripe and ready to be dug up.
II. Understanding Potato Growth Stages
The life cycle of a potato plant can provide valuable insights into when your potatoes might be ready to harvest. It all begins when you plant your seed potatoes in the spring, typically after the last expected frost.
Over time, these seed potatoes sprout into plants, producing green, leafy foliage above ground and tubers (the part we eat) below ground. As the plant matures, the tubers grow and multiply. By understanding these growth stages, you can have a rough idea of when your potatoes might be ready to harvest.
Generally, the potato growth cycle can be divided into five stages: sprouting, vegetative growth, tuber initiation, tuber bulking, and maturation.
- Sprouting: This is when the eyes of the seed potato start to sprout. It is the very first stage of potato growth.
- Vegetative Growth: In this stage, the plant begins to produce lush green foliage. The plant uses the sun’s energy to photosynthesize and grow.
- Tuber Initiation: The plant begins to form tubers. At this stage, the tubers are very small, but it’s a sign that the plant is progressing well.
- Tuber Bulking: During this stage, the plant channels its energy into expanding the size of the tubers (the potatoes). The potatoes grow and gain their typical round or oblong shape.
- Maturation: Finally, the plant reaches maturity. The above-ground part of the plant starts to yellow and die back, and the tubers beneath the ground harden and develop their skin.
Understanding these stages can help you predict when your potatoes are ready to be harvested. However, it’s important to remember that these stages can vary depending on the specific potato variety and local growing conditions.
III. The Signs of a Ready-to-Harvest Potato
Knowing the signs of a mature potato plant can help you determine when your potatoes are ready to be harvested. Here are the key signs:
- Foliage Color and Density: As the potato plant matures, its lush green foliage begins to yellow and wilt. This is one of the first signs that your potatoes may be ready to harvest. When the plant’s foliage has died back completely, it’s a strong indication that the potatoes are mature.
- Skin Set: Mature potatoes develop a firm skin, known as “skin set”. This process occurs after the potato plant’s foliage has died back. The potato skins harden, making them resistant to bruising and damage during harvest. If the skin easily rubs off a potato, it’s likely not fully mature.
- Flowering: Some, but not all, potato varieties produce flowers. While the presence of flowers can indicate that tubers are forming, it’s not a reliable sign that the potatoes are ready to harvest. Some varieties flower before the tubers are fully grown, while others might not flower at all.
Keep in mind that these are general signs, and they can vary based on the potato variety and local growing conditions. The most reliable way to know if your potatoes are ready to harvest is to conduct a “dig test”, which we will discuss in detail later in this guide.

IV. Timelines for Different Potato Varieties
Potatoes can be classified as early, mid, or late-season varieties based on the number of days they typically take to reach maturity.
- Early-Season Potatoes: These varieties typically mature in 70-90 days. Examples include ‘Yukon Gold’ and ‘Red Norland’.
- Mid-Season Potatoes: Mid-season varieties usually take around 95-110 days to mature. ‘Kennebec’ and ‘Goldrush’ fall into this category.
- Late-Season Potatoes: Late-season or main crop potatoes usually need 120-135 days to fully mature. Varieties such as ‘Katahdin’ and ‘Irish Cobbler’ fall into this category.
These timelines provide a general guideline of when to begin checking your potatoes for harvest readiness. However, the actual time to maturity can vary based on local growing conditions and weather.
V. The Dig Test: Your Best Bet
While timelines and visual signs can provide useful hints, the most reliable method to determine whether your potatoes are ready to harvest is to conduct a dig test.
- How to Perform the Dig Test: Choose a plant at the edge of your potato plot and carefully dig around the base with your hands or a small trowel. You should be able to find one or two potatoes near the surface.
- Interpreting the Results: Examine the unearthed potato. If the skin is thick and remains unblemished when you rub it with your thumb, the potatoes are generally ready to harvest. If the skin is thin and rubs off easily, the potatoes need more time to mature.
Remember, you should be very gentle while performing the dig test to avoid damaging the tubers. Also, if the potatoes are not yet mature, be sure to rebury any potatoes you unearth during the test to prevent them from turning green.
VI. How to Harvest Potatoes Safely
Once your dig test indicates that the potatoes are ready to harvest, you can proceed with digging up your crop. Here’s a step-by-step guide:
- Choose the Right Day: It’s best to harvest potatoes on a dry day. Wet soil can stick to the tubers and make them harder to clean. If rain is forecasted, try to wait for a better day.
- Gentle Digging: Begin by using your hands or a small trowel to dig around the plant’s base. Be careful not to spear or bruise the tubers as you dig.
- Lifting the Plant: Once you’ve loosened the soil around the plant, gently lift it from the base. You should find most of the potatoes clinging to the roots.
- Additional Tubers: After lifting the plant, probe the soil around the hole to find any additional tubers that might be hiding deeper in the ground.
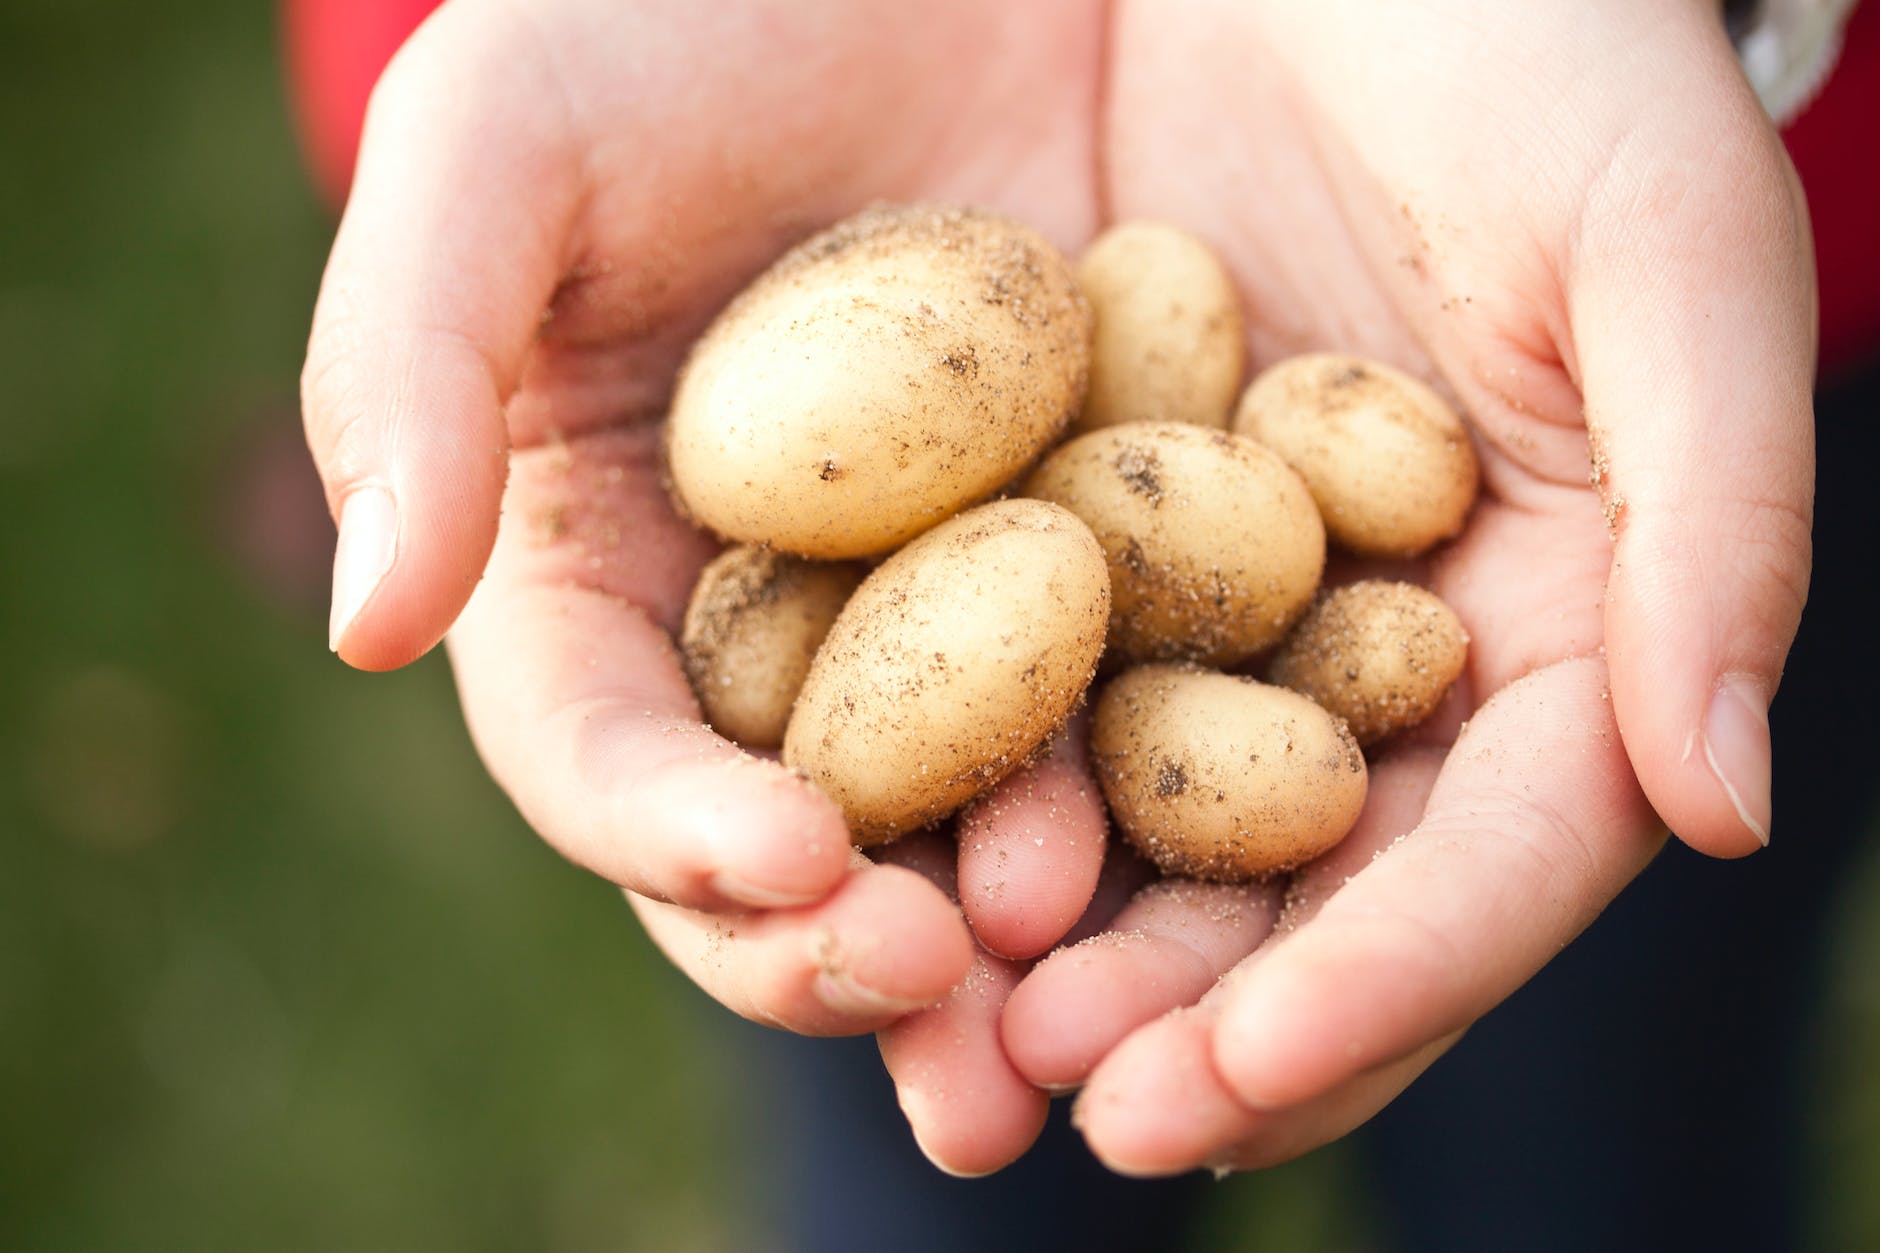
- Cleaning and Storing: Brush off any loose soil from the potatoes, but avoid washing them until you’re ready to use them. Store your potatoes in a cool, dark, well-ventilated space to maximize their shelf life.
Remember, patience and gentleness are crucial during the harvesting process. With these tips in mind, you can look forward to a bountiful potato harvest.

VII. Common Mistakes to Avoid When Harvesting Potatoes
Harvesting potatoes might seem straightforward, but there are common mistakes that can impact the quality and longevity of your harvested tubers. By being aware of these errors, you can ensure that your potatoes remain in top condition post-harvest.
1. Digging Too Early or Too Late: Timing your potato harvest correctly is crucial. If you dig too early, the potatoes will not have reached their full size, and their skin will not have fully set, leading to damaged tubers. If you wait too long, especially beyond the point when the plant’s foliage has completely died back, the potatoes may rot in the ground or be damaged by pests.
2. Not Performing the Dig Test: The dig test is the most reliable way to determine if your potatoes are ready for harvest. Avoid guessing or relying solely on the plant’s foliage. Instead, perform the dig test to confirm that your potatoes are ripe and ready.
3. Damaging Tubers During Harvest: Be careful when digging up your potatoes. Using a spade or a fork can result in speared or cut potatoes. Instead, use a trowel or your hands to dig up the potatoes gently.
4. Washing Potatoes Immediately After Harvest: While it may be tempting to wash off the dirt right after harvest, resist this urge. Washing potatoes before storage can lead to quicker spoilage. Instead, brush off any loose dirt and store the potatoes unwashed. Only wash them right before you plan to use them.
5. Improper Storage: Store potatoes in a cool, dark, and well-ventilated place to prevent them from turning green or sprouting. Also, sort through your potatoes before storage and remove any that are damaged or bruised as these can spoil and affect the rest of your potatoes.
Harvesting potatoes is a satisfying culmination of your hard work and dedication throughout the growing season. By avoiding these common mistakes, you can ensure a successful harvest and enjoy your home-grown potatoes for months to come.

VIII. Conclusion
Successfully harvesting potatoes requires a good understanding of the growth stages of your potato plants, and careful observation for the signs of readiness. By knowing when to start checking your potatoes and how to test their maturity, you can ensure a bountiful and successful harvest. Use the timelines for different potato varieties as a general guideline, but remember, the dig test is the most reliable indicator of potato readiness.
When it comes time to harvest, patience and care are key. Being gentle as you dig up your potatoes, properly cleaning and storing them, and avoiding common harvesting mistakes can make all the difference in the quality and longevity of your harvested tubers. With these tips in mind, you can look forward to a plentiful potato harvest in your North Carolina garden.
IX. References and Additional Resources
For more information about growing and harvesting potatoes in North Carolina, consider checking out these additional resources:
- North Carolina State University: Irish Potatoes
- University of Maine Cooperative Extension: Harvesting and Storing Home Garden Potatoes
Remember, every growing season can be a learning experience. Take notes, learn from any challenges you face, and remember to celebrate your successes. Here’s to your best potato harvest yet!
Related